Le Journal N° 01
One plant becomes many.
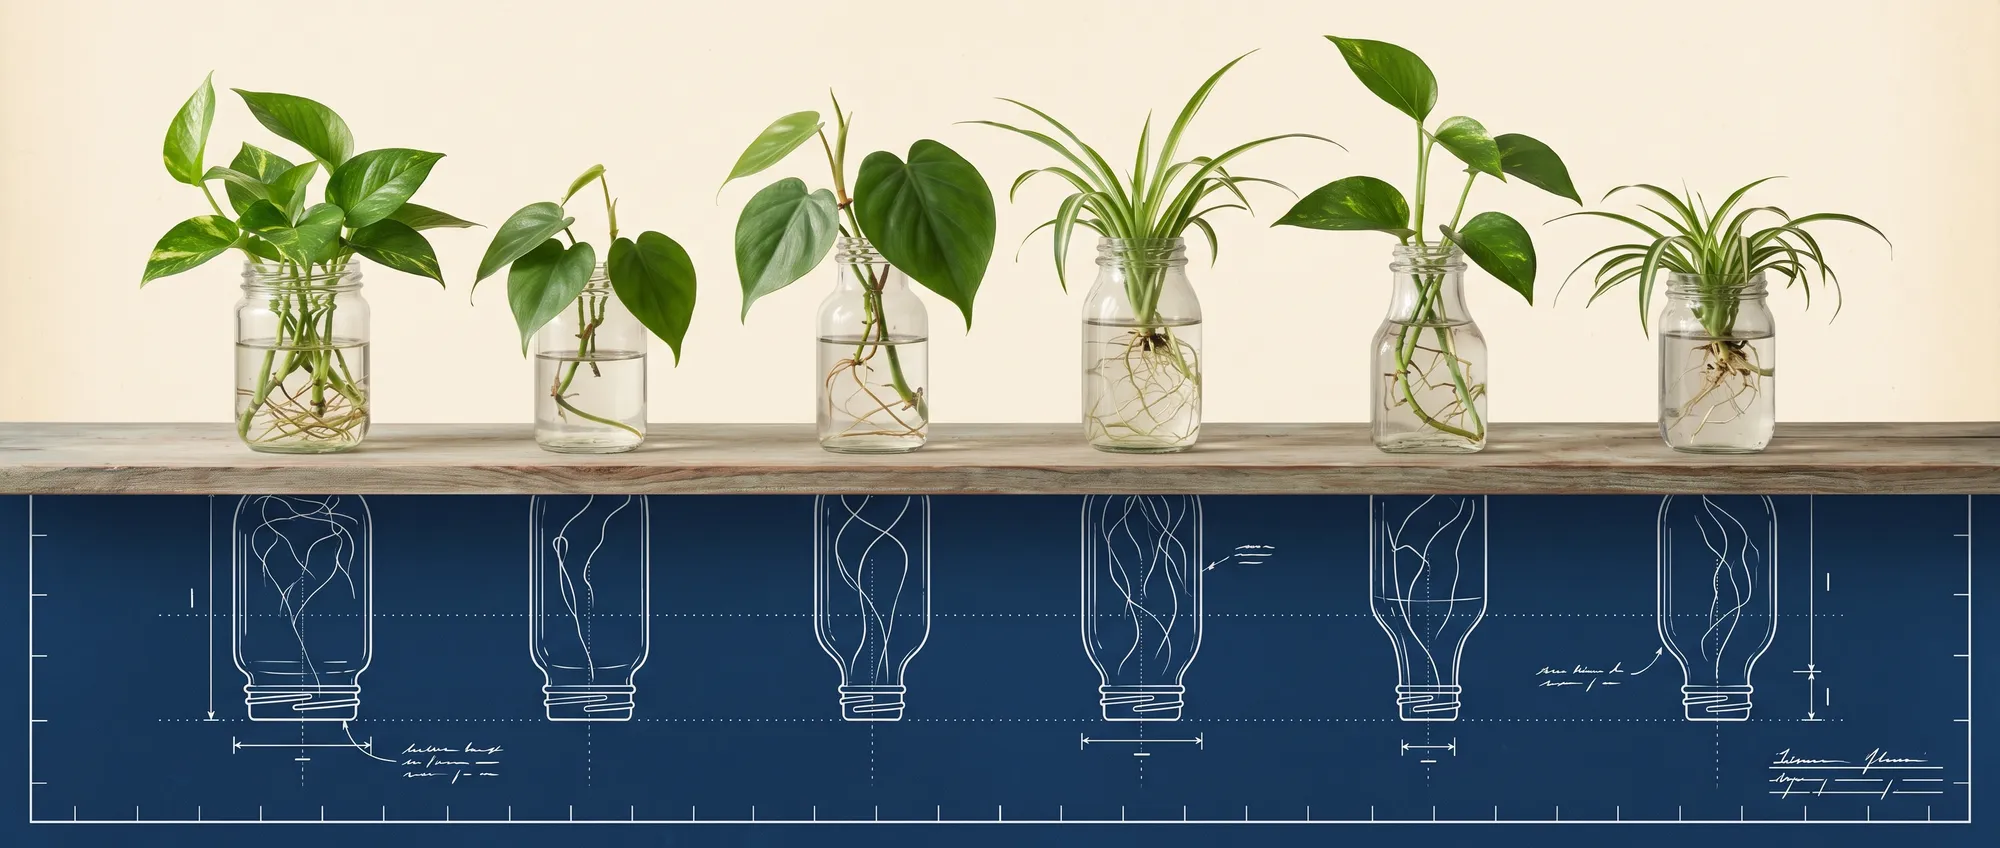
Propagation is the quiet magic of gardening: a clean cut, a jar of water, and a few weeks of patience turn one healthy plant into the next one — for free. Here is how to do it well, and how to keep both plants thriving afterwards.
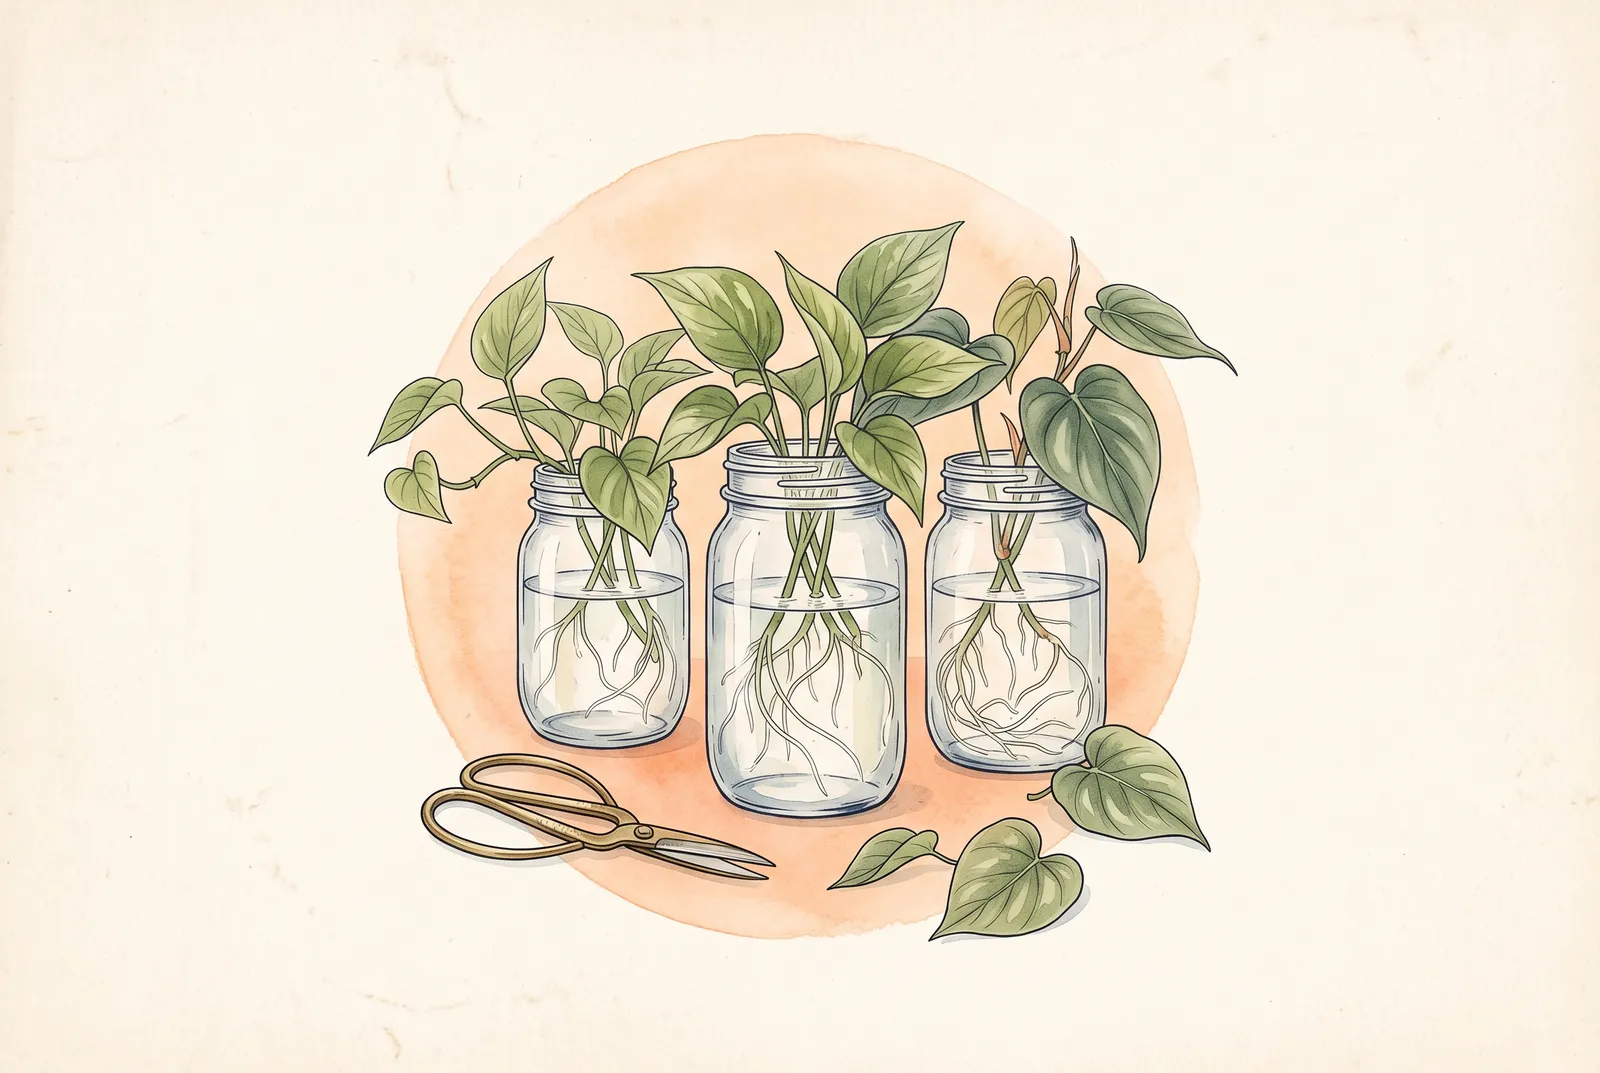
Long before garden centres, this is how plants travelled: a cutting pressed into a neighbour's hand, a divided clump carried to a new house, a jar on a windowsill quietly growing roots. Nothing about it requires a greenhouse or a green thumb. A plant wants to multiply — your job is simply to give it a fair start.
This guide covers the small amount of general care that makes everything else work, then the three techniques that between them will propagate almost any houseplant: stem cuttings, water propagation, and division.
Before you cut
- Light
- Bright and indirect. Near an east-facing window is ideal — harsh midday sun scorches young growth, while a dim corner stalls it.
- Water
- Room temperature, and less often than you think. For potted plants, let the top few centimetres of soil dry out between waterings.
- Warmth & humidity
- Most houseplants root fastest between 18 and 24 °C. A bright bathroom — or a loose clear bag tented over a cutting — raises humidity for free.
- Clean tools
- Sharp snips, wiped with rubbing alcohol between plants. A clean cut heals; a ragged one invites rot.
Three ways to make more
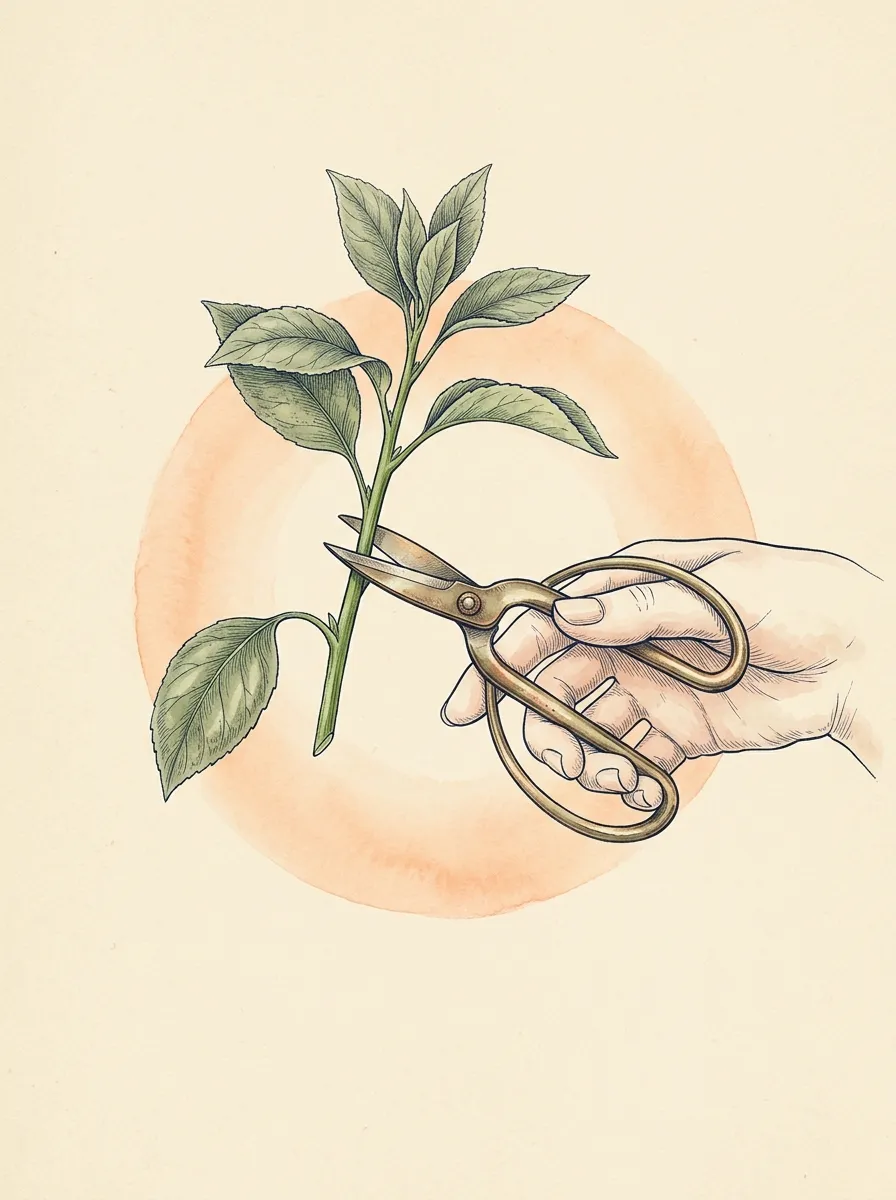
Stem cuttings
Snip just below a node — the small bump where leaves meet stem — and a stem becomes a whole plant.
Best for pothos, philodendron, tradescantia and most trailing plants.
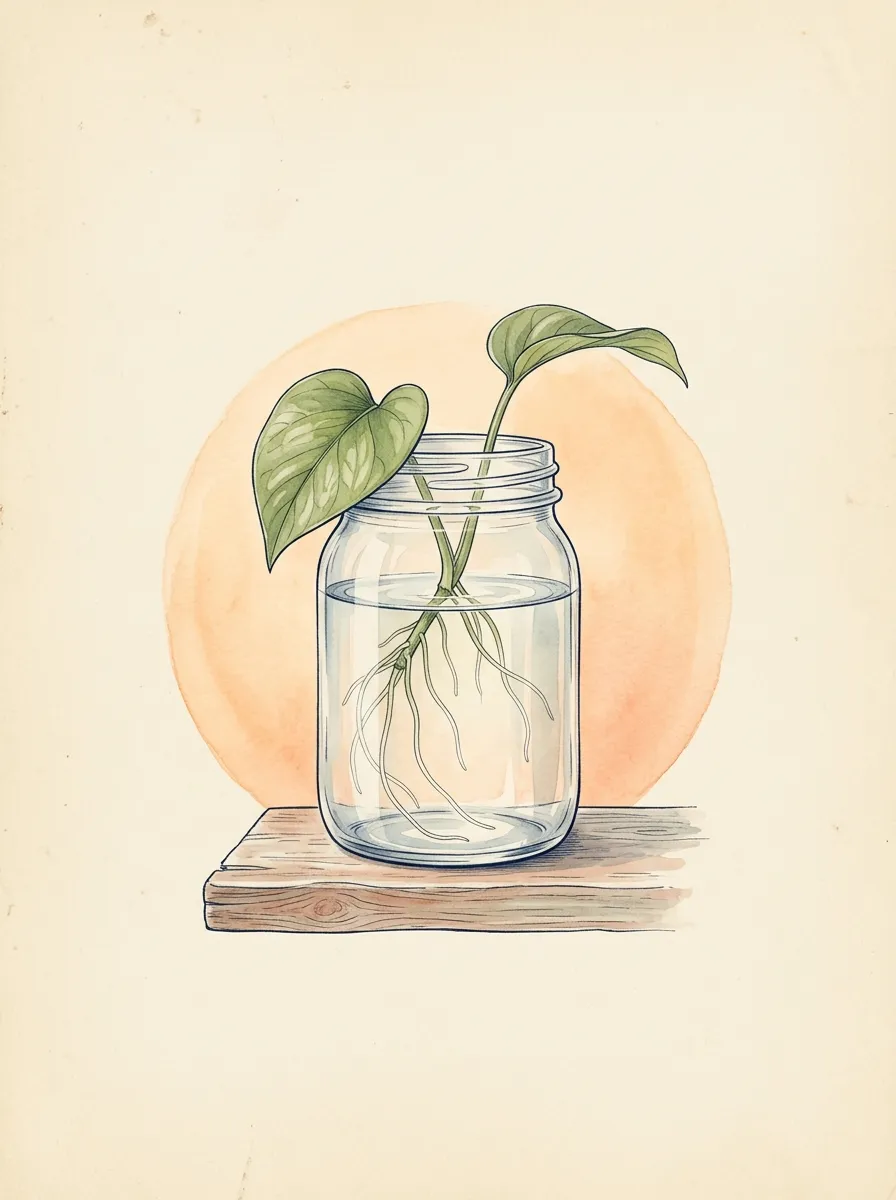
Water propagation
Rest the cutting in a jar of water and watch roots appear — usually within two to four weeks.
The most forgiving method — and the easiest one to watch.
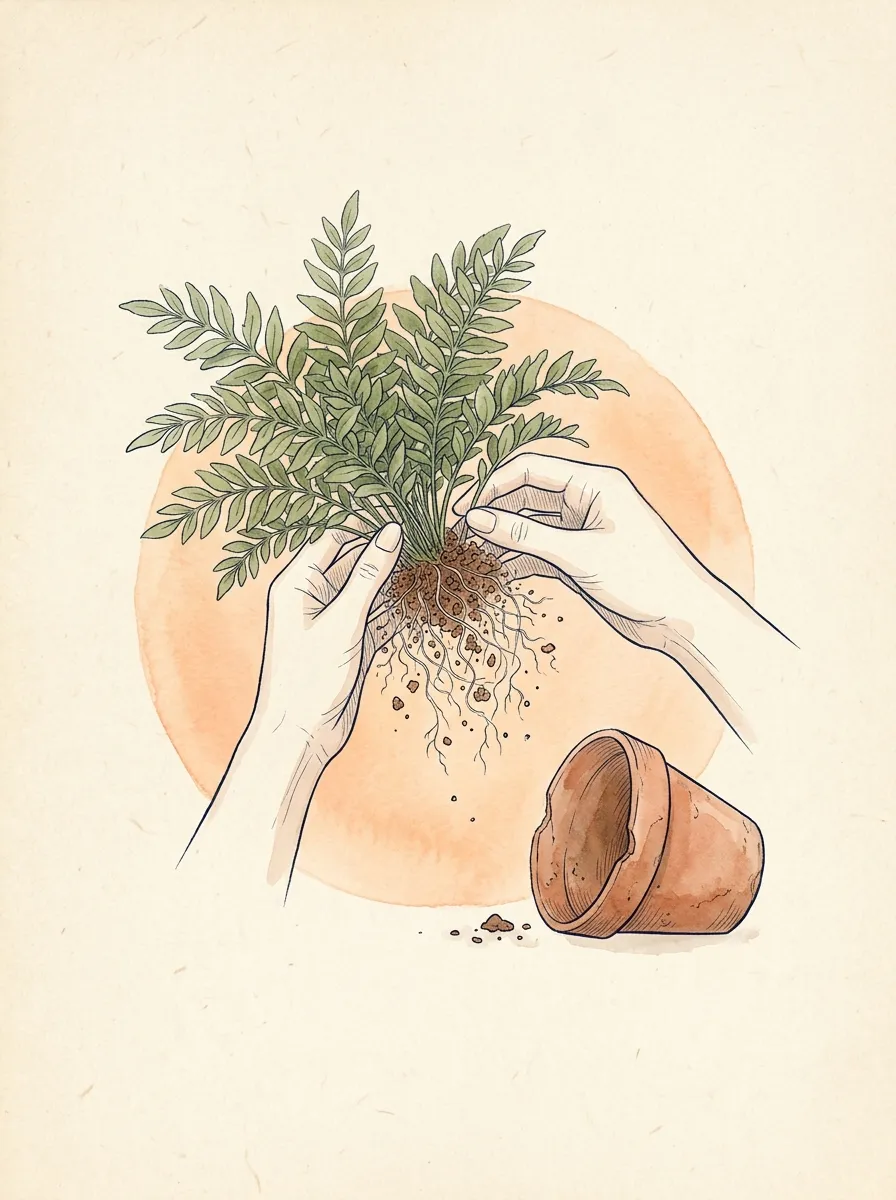
Division
Unpot, tease the root ball apart into clumps, and repot each clump as a plant of its own.
Ideal for ferns, snake plants, calatheas — anything that grows in clumps.
The water method, step by step
-
Choose your stem
Look for a healthy length of 10–15 cm with at least two leaves and one node. Skip anything yellowed, flowering, or freshly repotted.
-
Cut on the diagonal
Snip just below a node with clean, sharp blades. An angled cut exposes more surface — more surface, more roots.
-
Strip the lower leaves
Nothing green should sit below the waterline. Submerged leaves rot, and rot spreads faster than roots grow.
-
Rest it somewhere bright
A windowsill with indirect light is perfect. Refresh the water once a week — roots need oxygen as much as they need moisture.
-
Pot on at five centimetres
Once the longest roots reach finger length, move the cutting into a small pot of airy soil. Keep it evenly moist for the first fortnight while the roots change habits.
“Roots first, leaves follow. Everything in a garden happens in that order — including your confidence.”
When things go sideways
Yellowing leaves. Usually overwatering, not underwatering. Let the soil dry properly before the next drink.
Cutting turns soft at the base. Rot, from a dull cut or stale water. Re-cut higher on the stem and refresh the jar.
Roots but no new leaves. Entirely normal. The plant is investing underground first; leaves arrive once the roots are settled.
Leggy stems reaching sideways. Light hunger. Move closer to the window and give the pot a quarter turn each week.
Mould on the soil surface. Still air. Crack a window, or run a small fan nearby for an hour a day.
Nothing at all after six weeks. Some plants are simply slow. Check the node is underwater, warm, and lit — then wait two more.